

ESP32 Basics
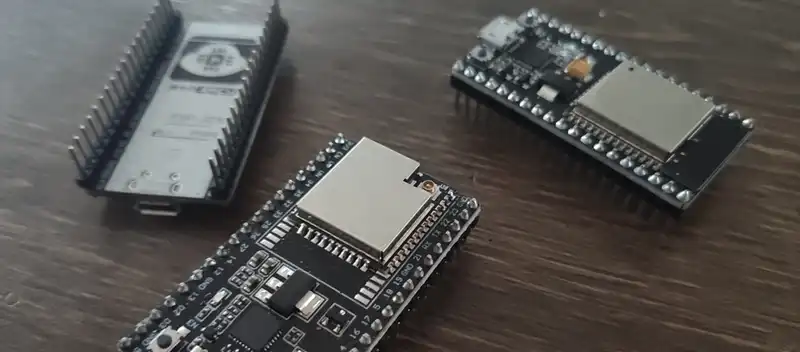
At this point, you are probably familiar with the Espressif ESP32 (and the older ESP8266) IoT microcontroller board which is a quite popular for prototyping and IoT needs among both hobbyists and professionals alike. The ESP32 Board is an IoT platform that provides a versatile solution for building Internet of Things (IoT) projects that is fairly powerful despite its small size and low cost. It comes with built-in Wi-Fi and Bluetooth capabilities, making it easy to connect and communicate with other devices.
Setting Up the Development Environment
To get started with the ESP32 platform, you'll need to set up your development environment first. Here's a loose set of simple steps to help you through the process:
- Install the Arduino IDE:
The Arduino IDE is a popular choice for programming the ESP32. Download it from the official Arduino website (https://www.arduino.cc/en/software) and follow the installation instructions for your operating system.
- Install the ESP32 Board Package:
Once the the Arduino IDE is installed, you need to add support for the ESP32 board. Open the Arduino IDE and go to File > Preferences. In the "Additional Boards Manager URLs" field, enter the following URL: https://dl.espressif.com/dl/package_esp32_index.json. Then click on OK to save the preferences.
- Install the ESP32 Board Package:
Next, go to Tools > Board > Boards Manager. In the Boards Manager, search for "esp32" and click on the "esp32 by Espressif Systems" option. Click on Install to download and install the ESP32 board package.
- Select the ESP32 Board:
Once the installation is complete, you can select the ESP32 board from the Tools > Board menu. Choose the appropriate ESP32 board variant for your specific board.
Writing a Simple Program
Now that you have set up your development environment, it's time to write your first ESP32 program. Let's start with a simple "Hello, World!" example:
void setup() {
  Serial.begin(115200);
  Serial.println("Hello, World!");
}

void loop() {
  // Your code here
}
In this example, we use the Serial object to communicate with the computer over the USB serial connection. The Serial.begin(115200) statement initializes the serial communication at a baud rate of 115200. Then, we use Serial.println("Hello, World!") to send the "Hello, World!" message to the computer.
To upload the program to your ESP32 board, follow these steps:
-
Connect your ESP32 board to your computer using a USB cable.
-
In the Arduino IDE, go to Tools > Port and select the appropriate port for your ESP32 board.
-
Click on the Upload button (the right-facing arrow) to compile and upload the program to your ESP32 board.
-
Once the upload is complete, open the serial monitor by going to Tools > Serial Monitor. Set the baud rate to 115200 (or the one you specified in your code).
-
You should see the "Hello, World!" message printed in the serial monitor.
Congratulations! You have successfully written and uploaded your first program to the ESP32 board.
Next Steps
Now that you have a basic understanding of how to set up the development environment and write a simple program for the ESP32, you can explore further and start building more complex IoT projects. The ESP32 board offers a wide range of capabilities, including Wi-Fi and Bluetooth connectivity, GPIO pins for interfacing with sensors and actuators, and support for various protocols and frameworks.
To deepen your knowledge, you can refer to the official documentation and explore the vast number of tutorials and projects available online. Don't be afraid to experiment and have fun while learning!
Remember to share your experiences and projects with the community to inspire and learn from others. Happy tinkering with the ESP32 IoT platform!
Note: The ESP32 board and Arduino IDE are constantly evolving, so it's always a good idea to refer to the official documentation for the latest information and updates.